That Window in Your Apartment? It's a $0 Lighting Kit
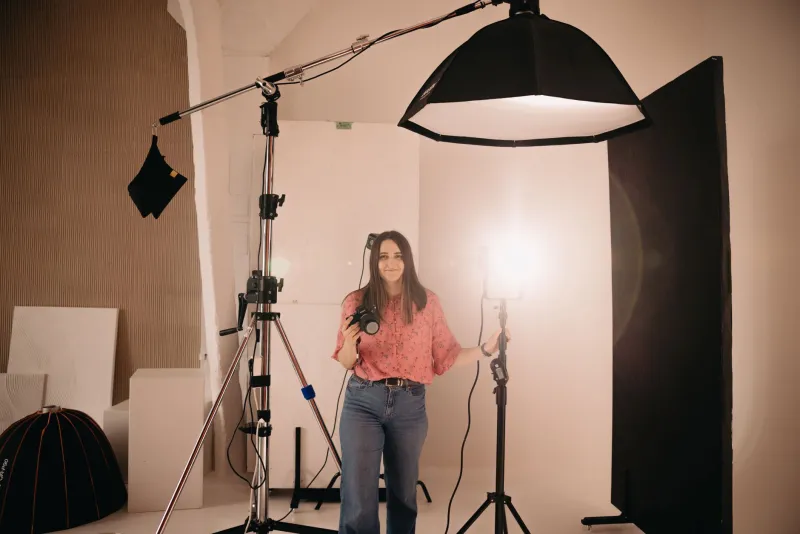
Somewhere along the way, creative work got tangled up with gear. Scroll through Instagram and you'll see ring lights, softboxes, color gels, and a tripod that costs more than a used bike. And if you're just starting out, it's easy to conclude that your work isn't good enough to post because your setup isn't good enough yet.
Here's the truth nobody selling lighting kits wants you to hear: light is free. It comes through your window every morning whether you've bought anything or not. The difference between amateur-looking photos and portfolio-quality ones usually isn't the gear — it's whether the person behind the camera understood what the light was already doing.
Start With the Window, Not the Store
The single best light source most beginners have access to is a large window with indirect sunlight. Not direct sun beaming in — that creates harsh shadows and blown-out highlights. You want the soft, even glow that comes from a north-facing window or a window where the sun isn't hitting directly.
In practical terms: pick a cloudy day or an overcast afternoon, and you've basically got the same diffusion a $200 softbox provides. Clouds are nature's diffuser, and they don't charge by the hour.
Try this: set your subject — a painting, a ceramic mug, a piece of jewelry — about two to three feet from the window. Then walk around it. Watch how the shadows shift. One side of the object will be brighter, the other darker. That contrast is what gives photos depth. You're not just taking a picture; you're choosing which version of the light you like best.
The Bedsheet Trick Nobody Believes Works
Direct window light can still be too punchy, especially at noon. The fix costs whatever's in your linen closet.
Hang a plain white bedsheet between the window and your subject — tape it to a curtain rod, clip it to a chair, pin it to the wall. The sheet diffuses the light, softening shadows into something that looks suspiciously like professional studio lighting. Photographers have been doing a version of this since before color film, and it still works on a Tuesday afternoon in a studio apartment in Ohio.
A white shower curtain liner works too, if that's what you've got. So does parchment paper for small subjects. Nobody in your portfolio review is going to ask what was taped to your window.
Bounce Cards: Two Dollars, Dramatic Difference
Once your main light comes through the window, you'll notice the shadow side of your subject can go muddy and dark. Enter the bounce card — a surface that reflects light back into those shadows.
The professional version costs $30. The beginner version is a sheet of white foam board from the dollar store. Prop it on the shadow side of your subject at an angle, and watch the dark side of your photo brighten up instantly. If you want a warmer feel, a piece of cardboard wrapped in aluminum foil (dull side out) does something similar with a little more punch.
This is the kind of trick that separates "I took a photo of my painting" from "I photographed my painting." Same artwork. Same phone. Completely different result.
Your Phone Is Better Than You Think
Modern phone cameras are genuinely capable of portfolio-quality images — if you stop letting the software make all the decisions.
A few things worth knowing:
- Tap to expose. Tap on the brightest part of your subject and drag the little sun icon down slightly. Phone cameras love to overexpose, and pulling back a touch keeps your whites from turning into mush.
- Lock your focus. On iPhones, long-press until you see "AE/AF Lock." Now your camera stops hunting around every time you breathe.
- Skip the zoom. Walk closer. Digital zoom is just cropping with extra steps and extra blur.
- Wipe the lens. Seriously. Half of all "why does this look hazy" mystery is a fingerprint.
Shoot in your phone's editing app afterward, not with heavy filters. A small bump in brightness, a touch of contrast, and a slight white-balance correction will do more than any preset pack you've been tempted to buy.
What This Looks Like in Real Life
We've watched beginners rebuild their presentation without spending a dime. A watercolor artist in Georgia was shooting her pieces on a dark kitchen counter under a ceiling light — everything looked yellow and flat. She moved to her bedroom window at 10 a.m., leaned a white foam board on the opposite wall, and suddenly her washes looked the way they do in person: bright, clean, layered.
A woodworker in Michigan had the opposite problem — his direct window light created shadows so harsh his carvings looked like crime scene evidence. A bedsheet over the window and a foil-covered cardboard bounce turned those hard black shadows into soft gradients that actually showed off the depth of his cuts.
Neither of them bought anything. Both of them now have portfolio images that hold up next to people with dedicated studio gear.
The Real Cost of Gear Envy
Here's the uncomfortable part: waiting until you can afford the "right" equipment is often just procrastination wearing a disguise. Gear envy feels like ambition, but it functions like a delay. Every week spent researching softboxes is a week your portfolio stays empty.
Your window doesn't care what camera you own. Your bedsheet doesn't check your follower count. The light shows up every morning, free of charge, and it will make your work look genuinely good — today, with what you have.
So here's the assignment: this week, shoot five pieces of your work using nothing but a window, a white sheet, and a dollar-store foam board. Edit them lightly on your phone. Put them side by side with your old photos.
Then ask yourself what the $300 lighting kit was going to fix.